Wednesday 30 January 2013

Capsicum, chorizo and feta salad


We had this colourful, flavour-filled salad alongside a roast chicken. Lots of texture here with the squishy feta, salty sausage and the warm, soft capsicum. 

This is a great salad, as you can make it while you have the rest of the meal in the oven. This salad would be a great one for a BBQ or dinner party. You could even cook the capsicum on the BBQ if you liked. Less washing up!

What you'll need

Serves 4 - 6 people as a side dish.

3 capsicums, core and seeds removed and sliced in large slices. I used red and yellow capsicums.
2 chorizo sausages, cut into rough chunks
1/2 cup feta cheese, cubed
1/2 cup fresh basil, roughly chopped or torn
Salt and pepper
Olive oil

What to do


Heat a large frying pan over medium heat with a tablespoon of olive oil.

Add the capsicums and cook, stirring frequently for about 5 minutes. Add the sausage. Continue to cook, stirring frequently for another 10 minutes until the capsicum and sausage starts to colour and the capsicum softens. Season with salt and pepper, remembering that the chorizo and feta cheese will add some salt already.

Once cooked, remove from the heat. Let cool for 5 minutes, then transfer to a serving plate. Sprinkle over the feta and basil and serve immediately.

I really enjoyed the lovely, fresh flavours and textures in this salad. I hope you do to. Serve this dish by itself for lunch, or with some roasted chicken or seafood and some crusty bread for something more substantial.

Cheese, bacon and tomato tart


Quick lunch for the kiddies here. The young lady asked if we could have pasty for lunch. I thought this was a fairly strange request. 'What kind of pasty?' I said. 'Just pastry,' she said.

This took about 30 minutes to make, including baking time, so it is a quick one. But I don't think the short preparation time lessens the taste of this little tart.

What you'll need

Served two for lunch

1 piece of short crust pastry, approx 40cm x 30cm
4 cherry tomatoes, thickly sliced
4 rashers of bacon, torn into medium-sized pieces
2 tablespoons cream cheese
4 slices fresh mozzarella (or 1/2 cup shredded mozzarella)
Handful fresh basil, torn
Salt and pepper

What to do


Preheat the oven to 180 degrees Celsius. 

Roll out the pastry. Hand shape the sides. I basically folded the sides over and pinch the pasty together to make sure it stays put.

Place the pastry into the oven and bake for 15 minutes, until it is golden brown. 

Remove the pastry from the oven. Smooth the cream cheese over the base of the pastry. Sprinkle the mozzarella over the base, then the bacon, then the tomato. Place back into the oven for 10 minutes, until the cheese is melted and the bacon is crisped. 

Remove from the oven, sprinkle with some fresh basil and serve immediately. 

Serve with a side salad if you like or just by itself. Quick and tasty and it fixed the 'pastry' craving of the young lady apparently.


Pear crumble


On a cold winter's evening, I need crumble. It soothes something in me and warms my toes! Here's my recipe for a pear crumble. A little different from the usual apple, but it was lovely, especially with lashings of cream.

What you'll need

Makes four servings.

2 pears, sliced in half lengthways, seeds removed. I used Bosc variety, as they keep there shape better once baked.

1 cup plain flour
1/2 cup raw rolled oats (porridge oats)
150g butter, cubed and at room temperature
100g caster sugar
pinch of salt

Cream to serve


What to do

Preheat the oven to 180 degrees Celsius.

I used individual baking dishes, but you could bake these pears in one large baking tray.

Make the crumble mix. Place the flour, oats, sugar and salt in a bowl. Throw in the cubed butter. With your fingers, rub the butter into the other ingredients until it resembles course breadcrumbs.

Take a handful of the crumble mixture and squish it onto the pears, moulding it a little with your hand. Distribute the crumble mixture evenly between the other pears.

Bake in the oven for 30 - 40 minutes, until the crumble is browned and the pears are soft.

Remove from the oven and let cool for a few minutes. Spoon on some cream and serve.

Note - I like a lot of crumble, but if you don't want so much, reserve any leftover mixture and use it with apples or any other fruit you need to use.

Mango, lime and coconut cheesecake


Cheesecake recipe time. Here's a summery-flavoured mango cheesecake with a double lot of crumbs - one on the bottom and one on the top. What could be better right! Lovely, summery flavours of mango, coconut and lime in a delicious cheesecake. Very, very good.


What you'll need

Makes six individual cheesecakes. I used glass containers with a 1.5 cup capacity.

For the base
125g butter
150g plain sweet biscuits
1/2 cup dessicated coconut

For the filling
Juice and zest of 3 limes
350g cream cheese
340g tin of condensed milk
Flesh of one ripe mango, finely chopped

For the topping
Fresh mango flesh
Lime zest
Dollop of thickened cream


What to do

Make the base. Using a food processor, finely process with biscuits. Or if you don't have a food processor, place the biscuits into a plastic bag and bash them with a rolling pin. Pour the crumbs into a bowl and mix in the coconut. Melt the butter and pour into the biscuit mix. Stir well with a spoon.

Grease your individual containers with a little melted butter. Using half the biscuit mixture, divide evenly between the six containers. Reserve the other half of the mixture for afterwards, but don't put it in the fridge. Press down the crumbs with your fingers or the back of a spoon. Place in the fridge to set for about 10 minutes.

In a large bowl, combine the cream cheese and condensed milk. Mix well to remove any lumps. Once smooth, add the lime juice and zest. The mixture will thicken. Add the mango and fold through. Divide the mixture evenly between between the six containers. Place in the fridge to set for about half and hour.

Divide the remaining crumb mixture into each container, sprinkling it evenly to make the top crust.

Place in the fridge to set for approximately 4 hours.

To serve, dollop a spoon of cream on top of the crumbs, sprinkle some fresh, chopped mango flesh and a little lime zest. Eat in moderation, this is a little addictive.


Wednesday 23 January 2013

Pork and pineapple stack

Here's a sunshine recipe. 'What is a sunshine recipe?' I hear you ask quite sensibly.

For me, a sunshine recipe is a meal that you make using ingredients or flavours that take you back to a sunny, summer day somewhere in the past.

This recipe did this for me - the sweet, juicy, yellow pineapple and the spicy, colourful dressing reminded me of a hot, sunny day in Queensland - my home State in Australia. Of lazy weekends mowing the lawn, thunder storms, being all sweaty and jumping into the pool for a dip, of bbqs and a cold glass of wine. Fairly remarkable that one little pineapple can do all that!

Anyway, enough reminiscing about times past. Onto the recipe for a stack of pork steaks and grilled pineapple, with a few prawns on top and a chilli and lemongrass dressing. This was just the dish for a cold and snowy evening in the depths of winter in Vienna.

The pineapple provided the inspiration and the ingredients in the fridge and freezer did the rest. Oh the beauty of having a well-stocked fridge with lots of different ingredients to choose from. It is great when you don't have to trek out in the snow to the shops at the last minute.

What you'll need


Served two people.

2 pork steaks or fillet, approximately 150g each
4 pineapple slices (preferably with the core in tact)
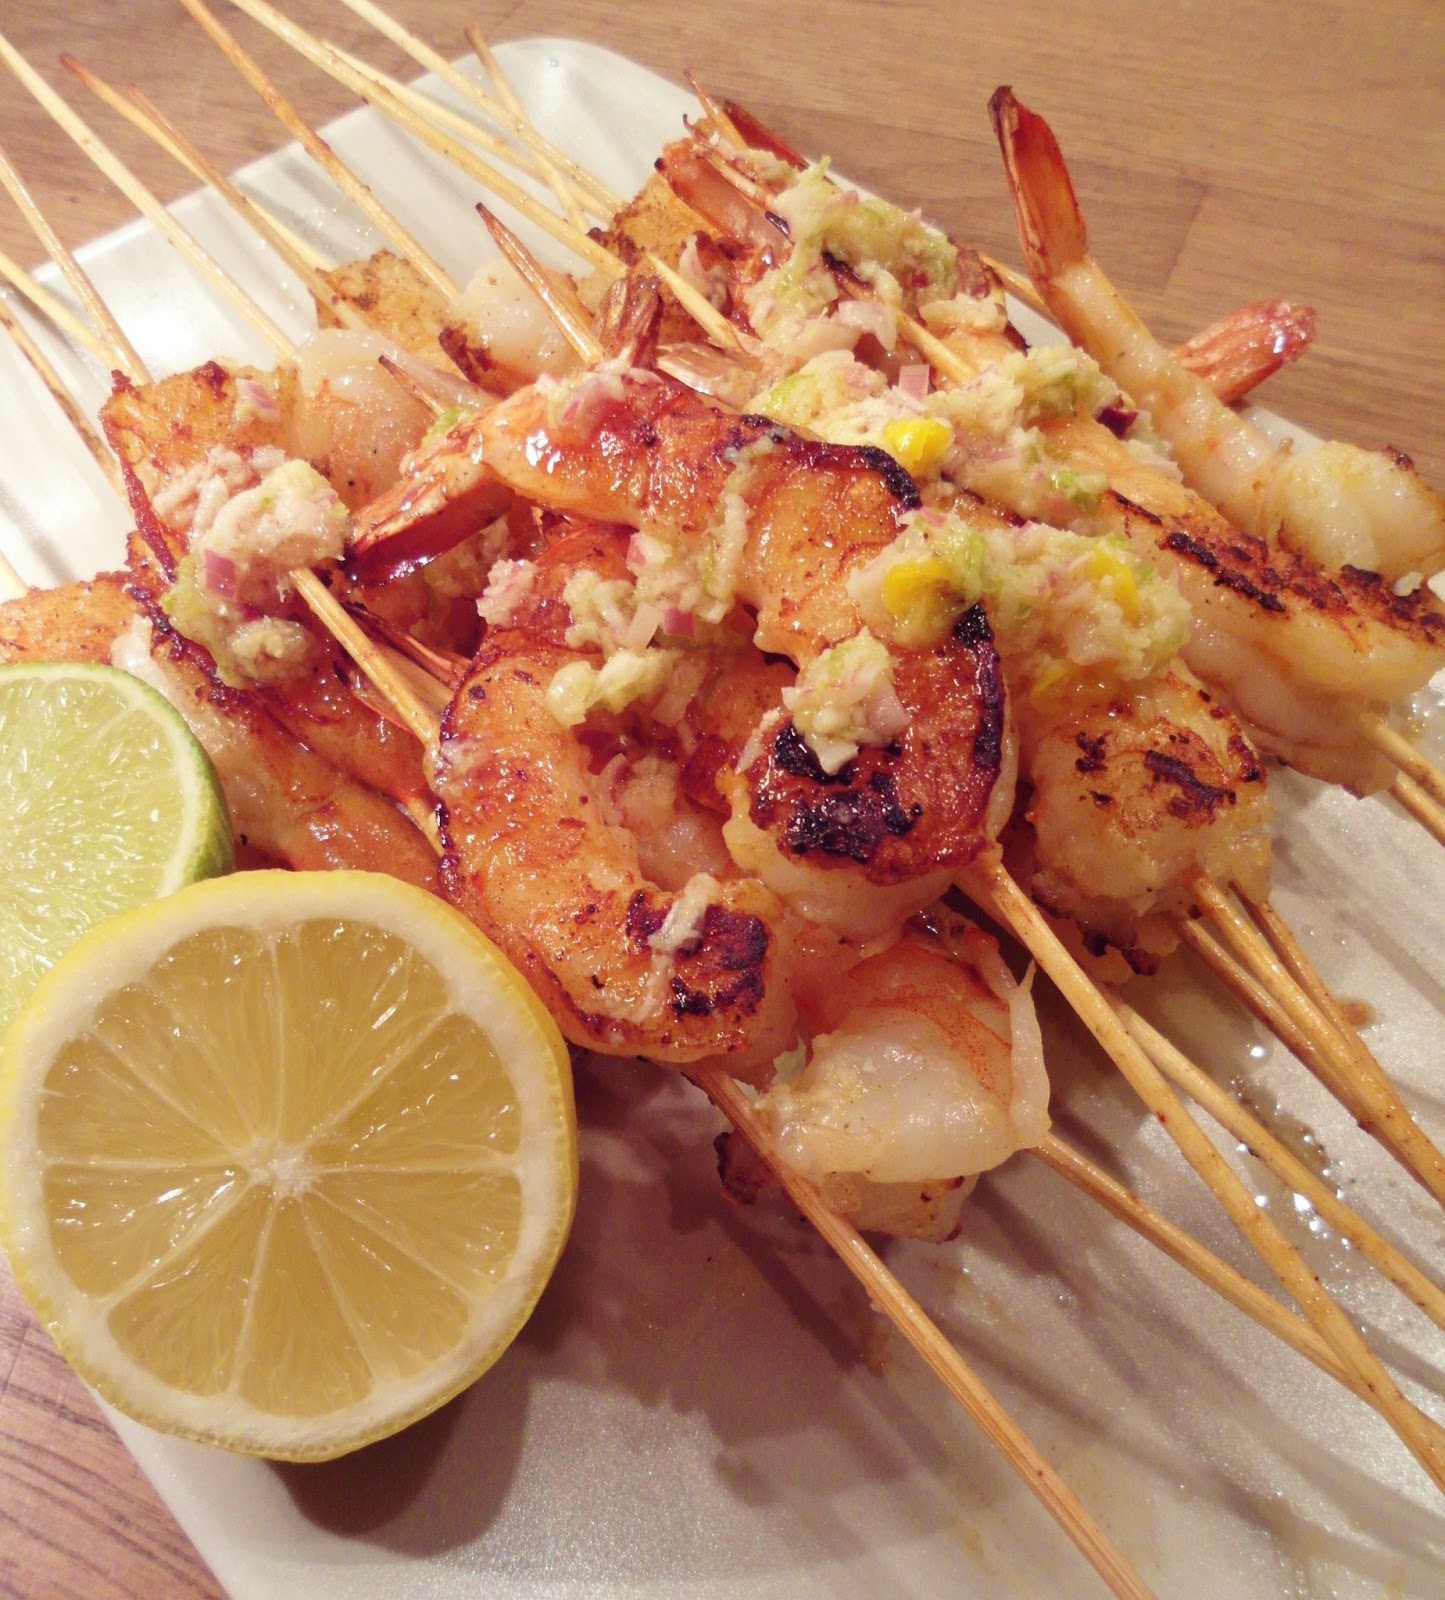
4 large green prawns, peeled
Olive oil for grilling the meat and pineapple
Salt and pepper for seasoning

For the dressing
Juice and zest of one lime
1 red chilli, chopped finely
1 tablespoon sweet chill sauce
1 dessert spoon honey
1 teaspoon fish sauce
Good pinch salt
1 small stalk of lemongrass, bruised and the fleshy bottom part chopped finely
Handful fresh basil or mint leaves, stalks removed and chopped finely

To serve
Lime and ripe avocado slices

What to do

Make the dressing. Add all the dressing ingredients into a small bowl and mix well to combine. Set aside.

Heat two frying pans over medium heat. Add a little oil to each. Grill the pork steaks in one pan, until cooked to your liking. I like my pork a little pink in the middle, so about 8 minutes cooking time altogether. Season well with some salt and pepper.

At the same time as the pork is cooking, add the pineapple pieces to the other pan and grill until caramelized on both sides. This will take about 6 minutes.

Once pork and pineapple is cooked, set aside to rest for a few minutes.

Keep the pineapple pan heated and throw in the prawns. Cook for two minutes until just cooked. Remove from the pan and set aside.

Now assemble the dish. Slice each pork steak in half horizontally (so you end up with four thinner pork steaks).

On a large plate, place one pineapple slice. Place one of the pork steaks on top, then repeat with one more pineapple slice and steak. Place two prawns on top, then spoon as much dressing as you like over the whole dish. Place the sliced avocado on the side with a piece of lime and serve immediately.

We ate this with a crunchy cabbage and snow pea salad. It would have been lovely with a glass of crisp, white wine, but it was a tad cold for that.  Enjoy your little taste of sunshine.

Tuesday 15 January 2013

Baked passionfruit custard


A delicious dinner party dessert recipe follows. You'll find it hard to stop at one of these beautiful, creamy passionfruit custards. Thanks to Donna Hay , from her wonderful recipe book 'fast, fresh, simple' for the recipe.

These were a sublime ending to a lovely evening with friends. The subtle sweetness of the custard was balanced by the tang of the passionfruit and a dollop of mascarpone cheese on top. Just simply lovely.

What you'll need


Made 6 tea cup-sized custards

250ml milk
250ml pouring cream
3 eggs
1 extra egg yolk
75g caster sugar
125ml passionfruit pulp - you'll need 4 or 5 passionfruit

Cream and extra passionfruit pulp to serve

What to do

Preheat the oven to 160 degrees Celsius. Boil a kettle full of water.

Place the milk and cream in a saucepan over low heat and heat until hot, but not boiling.

Place the eggs, yolk and sugar in a bowl and whip with electric beaters until pale and fluffy.

Slowly whisk the hot milk/cream mixture into the egg mixture.

Now strain the mixture through a fine sieve, back into a clean saucepan. Add the passionfruit and mix to combine.

Over low heat, stir the mixture for about 5 minutes until it thickens slightly.

Pour the mixture into 6 tea cups or any container that can hold approximately 3/4 cup liquid. Place in a baking dish, spacing the custards apart evenly.

Using the hot water from the kettle, pour water into the baking dish until it comes approximately half or three quarters of the way up the cups/dishes you have used.

Place into the oven and bake for 25 minutes, until the custards are just set. Carefully remove from the baking dish and cool in the fridge for 3 hours until cold.

Serve with a dollop of cream and some passionfruit pulp drizzled over the top.

You will find it hard to stop at just one of these - I did!

Monday 14 January 2013

Asian-style omelette

This was our Saturday morning breakfast; omelettes filled with left-over roasted chicken, grated carrot, eschallots, lots of fresh basil and some Asian flavourings - soy sauce, fish sauce and lime juice.

These were quick to whip up, very tasty and not a refined carbohydrate in sight, so they are Paleo diet friendly. Man-of-the-house thought I could have added a little fresh chilli to boost the Asian flavours contained in the omelette. Chilli is a bit much for me first thing, but certainly chilli would have been good if this was a lunch or quick dinner dish. Serve with a side salad or some vegetables and dinner or lunch would be on the table in less than 30 minutes.

You could use any ingredients you like to fill these omelettes such as grated zucchini,chopped onion, mushrooms, tomatoes, left-over roast vegetables and meats, ham or salami, roasted capsicum or eggplant.

I tried to keep this omelette on the lighter side so I didn't use cheese/dairy products but you could if you like.

What you'll need

Made 2 medium-sized omelettes

5 medium-sized eggs
1/2 cup water or milk
1 cup roasted chicken meat - chopped or shredded
1 carrot, grated
1/2 cup fresh basil, finely chopped
1/2 lime 
Soy sauce and fish sauce (I used a few sloshes on each omelette)
2 teaspoons vegetable oil


What to do

Heat a good non-stick pan or omelette pan over medium heat. Add one teaspoon of oil. Spread the oil to coat the pan.

Crack the eggs into a bowl and whisk lightly with a fork. Add the water or milk and mix to combine.

Pour half the egg mixture into the pan and swirl the pan to coat the bottom (so the egg mixture evenly coats the bottom of the pan).

Now, sprinkle half your ingredients into the centre of the omelette in a line down the middle (see the top picture). Cook the omelette until you can see that the egg is set (not runny) and the ingredients have warmed through. Splosh on a little soy and fish sauce and squeeze some lime over omelette.

Using an egg flip, lift up one side of the omelette and flip gently into the centre. Press it down slightly to keep it there. Repeat with the other side of the omelette. 

Slide the omelette gently on a plate and serve immediately or keep warm while you make the second omelette. Repeat the above process for the second omelette.

Thursday 10 January 2013

Paleo 'Meat Muffins'

This recipe was specifically designed  for some friends who are following the Paleo Diet - eating only meats, seafood, vegetables, fruits, eggs and nuts (and herbs and spices). If you want to know more, visit this website.

I think, on this diet, that breakfast is the most challenging meal of the day to come up with something relatively quick, tasty and high-protein to eat. When you remove carbohydrates from the breakfast equation - breakfast cereal, porridge, muesli, toast, muffins, pancakes - and also remove dairy products - milk,  yogurt, cheese, cream etc - there are not too many 'traditional' breakfast foods left. Certainly you could eat eggs, but that gets a bit monotonous after a while.

So the challenge was to make something high-protein, quick to heat-up and eat in the madness of morning, filling and of course tasty. My first attempt to meet the challenge was some egg muffins - basically beaten egg, some herbs and seasoning, poured into a greased muffin tin, then some pork mince sprinkled into each one. Bake in the oven for 15 minutes. Not too bad. But I thought I could do better.

Second go was these 'meat muffins' which is not the best name, but I figure it is more about the taste and the look, rather than the name. These muffins took 5 minutes to put together, then 20 minutes in the oven. I made  a batch the night before, stored in the fridge, then reheated in the morning. These ticked all the boxes for the challenge. And man-of-the-house says this is the 'breakfast of champions.' Maybe we'll change the name to 'champion muffins.' Sounds better already.

What you'll need

Made 10 medium-sized muffins

400g mince - I used a mixture of pork and beef mince
2 eggs, beaten
1 cup grated zucchini
4 mushrooms, finely chopped
1 teaspoon each of dried basil and oregano
1 onion, finely chopped or grated
Salt and pepper

Vegetable oil for greasing the muffin tin

Cherry tomatoes and fresh basil for the topping

What to do

Add all ingredients in a bowl and mix well with clean hands. Season well.

Preheat the oven to 180 degrees Celsius. Grease the muffin tin with the vegetable oil. Using your hands or a spoon, scoop the meat mixture into each muffin tin, dividing equally between each.

You will end up with about 10 muffins depending on how much mixture you place in each. Remember these won't rise at all, so what you put in will be the final size of the cooked muffins.

Place in the oven and cook for 20 minutes or until brown on top.

Remove from the oven and cool in the tin. Once cool, remove to a plate or storage container. Sprinkle over the chopped cherry tomatoes and some fresh-chopped basil.

The serve, heat for 20 seconds in the microwave until warm. You could make a small side salad of avocado, tomato and nuts if you like and have time or just eat them on the way out the door. These would also be good for the lunchbox.

Wednesday 9 January 2013

Lime and lemongrass prawns


We had a birthday dinner for the man-of-the-house yesterday. He designed a menu and I had to cook it as one of my gifts to him. He asked for these prawns, inspiration and partial recipe borrowed from Donna Hay.

Very simple, but these prawns were so very, very good. Firm, sweet prawn flesh with those little crunchy cooked bits on the outside. Then a spicy, sour sauce spooned over the top. The man was extremely happy with these.

I made a very spicy marinade/sauce, but I also kept some plain prawns for the children as they don't cope with too much spice. And a squeeze of lime over the top made these prawns very special.

I used frozen green prawns in the shell, so I had to peel them once defrosted, but it only took 5 minutes. I was very happy with the texture of the prawns, even though they were frozen.

I think if I made a double batch of these they would have been eaten. I made 25 prawns and they were gone within 5 minutes, with lots of 'yums' around the table.

What you'll need

Served four people as an entree

25 large green prawns, peeled with tails intact
25 bamboo or metal skewers

For the marinade/sauce
Juice and zest of 1 lime
Thumb-sized piece of fresh ginger, peeled and grated
3 small, fresh chillis, finely chopped
2 cloves garlic, finely chopped
2 small stalks of lemongrass, whacked/bruised with the back of a knife and finely chopped
Good pinch of salt

What to do

Thread the prawns onto the skewers. Try to straighten the prawns out as much as possible on the skewer.

Make the marinade. Combine all the ingredients in a food processor and whiz until combined. Or if you don't have a food processor, chop all the ingredients very finely and combine in a bowl. Spoon half the marinade over the prawns. Keep the rest in reserve to spoon over afterwards.

Heat a large pan or a bbq hot plate and grill the prawns for a few minutes either side until golden brown.

Once cooked, remove and place onto a serving plate. Drizzle the reserved marinade over the top and serve with extra lime to squeeze over. Simply delicious!

Quinoa and roasted pumpkin salad


I'll admit it, I am a slow adapter of new things; products, technology etc. I am one of those people who say, 'Oh yes, sounds good, I'll wait a couple of years until I try or buy.' I am even a little slow trying out new food ingredients. For example, I ate quinoa (pronounced kin-wah) for the first time two weeks ago.

I know that this new food has been around for a few years, and I have heard lots about it, read recipes about it and heard friends talk about using it, but it was not for me until two weeks ago. I decided to give quinoa a go after talking to my Mum, who has used it to make a version of fried rice (minus the rice of course).  

Our first taste of quinoa was as a plain side dish accompanying a chicken curry. The verdict from the family was good and yummy. The next recipe we tried was this roasted pumpkin salad. I made a chilli and green olive dressing, and sprinkled some fresh-cracked walnuts over the top. The textures were wonderful, squishy and crunchy, and nutty and creamy.

I find that quinoa doesn't sit in your stomach as heavily as some other carbohydrates, such as rice or pasta. Therefore, I will be adding quinoa as a regular ingredient to my cooking repertoire. Give it a try if you haven't already. 

What you'll need

Serves four to six people as a side dish

For the salad
Half a medium butternut (or whatever variety you have) pumpkin, skinned, deseeded and cut into rough 2cm cubes. I had about 2 cups-full of pumpkin to cook.
250g quinoa, cooked according to packet instructions
Vegetable oil for roasting
Salt and pepper

For the dressing
2 tablespoons green olive paste or tapenade
2 tablespoons red wine vinegar
2 tablespoons olive oil
Salt and pepper
2 small red or yellow chillis, finely chopped

To serve
1/2 cup roughly-chopped walnuts
1 tablespoon fresh, finely-chopped oregano leaves

What to do

Preheat the oven to 180 degrees Celsius

Line a baking tin with a piece of baking paper. Place the pumpkin in a roasting tin. Drizzle pumpkin and vegetable oil (about 1 tablespoon) and season well with salt and pepper. Mix well to coat the pumpkin.

Roast until pumpkin is just soft and golden. (about 20 minutes). Remove tin from the oven and set aside to cool.

In a large bowl, place the cooked quinoa and the cool pumpkin. Mix carefully, so that the pumpkin maintains its shape.

Make the dressing and season to taste. Pour over the salad.  Mix very gently to coat. Sprinkle with herbs and nuts and serve immediately.

This salad is a great accompaniment to chicken or fish. You could serve it as a main dish with some other salads or vegetable dishes. It would also be great to serve a large dish of this at a BBQ.

Monday 7 January 2013

Golden Staircase Pie


During the Christmas holidays, I remembered a pie/tart/cake that my Mum used to make when I was younger. It had luscious layers of sweet lemon, orange and vanilla custards, a crumbly pastry and cream. I started thinking about this cake, dreaming about it even. So therefore, I had to make it..... Luckily we had a dinner invitation to a friend's house for New Year's Eve, so I had a great excuse to make something a little bit special.

It was called a Golden Staircase Pie. My Mum made this pie and served it in her cafe. And although it was stunning to look at and popular with customers, I have never seen this served in any other cafe or restaurant I've visited. Even 'Google' could not provide me with a picture of this pie, only two or three recipes in the whole 'interweb'. My recipe is adapted from the Epicurean website.

Anyhow, I ploughed ahead, found a recipe which I adapted to local ingredients and here's the result.  It was good, excellent even. The textures were as I remembered them; crumbly pastry, creamy lemon layer, the firm orange custard layer in the middle and the soft vanilla layer on top. The difference in my recipe to those that I've found and that which my Mum used is the addition of passion fruit. I didn't have any passionfruit, so I left them out, but you could add this fruit to the bottom level and spoon over the top as a nice 'tropical' taste to the pie. I think you could also add some chopped or canned pineapple onto the top to serve. 

I'd save this cake for a special occasion, as  it is a little bit of any effort to make it. It's not difficult, it just takes some time as you have to wait for each layer to set before making the next layer. But definitely worth it.

What you'll need

Makes one large cake, 10 - 12 pieces.

For the pastry

125g butter, at room temperature
70g caster sugar
1 egg yolk
1 cup self-raising flour
45g cornflour
35g plain flour
4 teaspoons milk

For the bottom lemon level

200ml lemon juice
325ml sweetened condensed milk

For the middle orange level

100g caster sugar
250ml orange juice
4 heaped teaspoons custard powder
4 heaped teaspoons cornflour
4 teaspoons lemon juice

For the top vanilla custard level

60g butter, at room temperature
250ml milk
6 heaped teaspoons cornflour
6 teaspoons caster sugar
1 teaspoon vanilla extract

To serve 

Thin slices of whole orange and lemon or pulp from three passionfruit
Whipped thickened cream

What to do


Step 1 - make the pastry
Cream butter and sugar until pale and fluffy, then add the egg yolk. Sift flours together. Add flours to the mixture, then add the milk. If the pastry is too sticky, add a bit more plain flour until it comes together into a ball. Roll out pastry to a 1cm thickness. Grease and line a 22cm pie plate or springform cake tin. Put in the pastry and press into the corners of the tin. Leave an overhang that you can cut off later. Bake in a 180 degree Celsius over for 20 minutes until golden. Remove from the oven and let cool completely in the tin.

Step 2 - first layer
Mix condensed milk and lemon juice together. Stir and it will thicken after a little while. Pour the mixture into the baked and cooled pie pastry. Place in the fridge to cool and set.

Step 3 - second layer
Heat juices over low heat in a small saucepan. Mix together the custard powder, cornflour and sugar. Add to warmed juices. Stir with a whisk until thickened (this happens very suddenly, so don't leave the pot). Cover with a lid to prevent a skin forming. You will end up with a very thick orange custard. Cool the mixture, then spread over first layer. Chill in the fridge until well set.

Step 4 - third layer
Heat the milk gently in a small saucepan. Mix the cornflour together with a little milk and stir well. Add the cornflour mix to the warm milk, stirring continuously. Cover with a lid and set aside to cool.
Cream butter and sugar well with electric beaters. Beat in the cooled cornflour/milk mixture. Gradually add vanilla. Spread over orange juice layer. Chill well.

Step 5 - decoration
Once set, spoon or pipe whipped cream over the cake. Lay slices of orange and lemon over the cream and spoon over passion fruit pulp if you like. Slice using a heated knife and serve immediately.


Eggplant Bake

We had this eggplant bake the other night. We ate it instead of pasta and with a side salad. It was very satisfying and tasty and was not too much of an effort to make.

We have been reducing our carb intake since Christmas. Please don't worry, as there will still be lots of lovely 'carby' recipes on the blog.  The man of the house and I have a bit more of a spring in our steps and are feeling good about this change in our diet.

Anyway, enough about us. Back to the recipe. I've made two versions of this eggplant dish. One was with a spicy mince with kidney beans (also used for tacos) and the other was with a plain Bolognese sauce with zucchini slices.

This dish is a good way to increase your vegetable intake - add lots of vegetables into the sauce or into the dish. Vegetables such as zucchini, pumpkin or sweet potato thickly sliced would work well. Or add some tinned sweet corn, diced carrot and celery, sliced leeks - you get the idea.

Serve the baking dish to the table and serve with a side salad for a great family dinner.

What you'll need


For basic eggplant bake, to serve two people with a little leftover.

1 large eggplant, sliced into 1cm thick slices
2 cups of homemade Bolognese sauce or 2 cups or prepared taco mince with kidney beans
1/2 cup crumbled feta
Other vegetables as you'd like. I used a zucchini, sliced lengthways.
Vegetable oil for frying.
Salt and pepper.

What to do

Heat a large pan (or two medium pans) over high heat with some vegetable oil. Once the oil is hot, add the eggplant slices and pan fry on both sides until golden brown and soft. The eggplant will soak up lots of the oil, but if you press it gently at the end of the cooking with a spoon while still in the pan, much of the oil will come out. Drain the eggplant well on paper towel and season with salt and pepper. Repeat the same process with whatever other vegetables you are using. The vegetables should be cooked through and soft before you add them to the baking dish.

Preheat your oven to 180 degrees Celsius.

Into the bottom of a small baking dish, place 1/2 cup of your meat sauce.  Make a layer of eggplant (or other vegetables) over the meat sauce. Add another cup of meat sauce, another layer of vegetables, then finish off with whatever meat sauce is left.

Crumble the feta over the top, and place in the oven until the sauce is bubbling and the feta is golden brown. This will take about 15 minutes. Remove from the oven and let rest for 5 minutes, then serve to the table.

Thursday 3 January 2013

Cauliflower Soup


This is a very easy and quick soup to make; it tastes great and is very impressive to serve to the table.

Basically this is a cauliflower puree, thinned out with a little stock and cream. That's it. Recipe follows.

What you'll need

1 head of cauliflower, cut into small florettes, with most of the stalk and all leaves removed
200ml pouring cream
2 cups chicken or vegetable stock
2 cups water
Salt and pepper
  

What to do

In a large pot bring the water and stock to the boil. Once boiling, add the cauliflower and cook until breaking apart (about 40 minutes). Keep the lid on. If you want a really thick soup, you can remove the lid and reduce the liquid for the last 10 minutes of cooking.

Remove from the heat and cool until just warm. Using a blender stick, blend the cauliflower until smooth. Add the cream and season with salt and pepper to taste.

Heat gently to serve. I served my soup sprinkled with some slivered almonds, crispy prosciutto pieces, fresh torn basil and crusty bread rolls. But it also goes beautifully with some crumbled goats cheese, freshly grilled scallops or prawns, some freshly chopped mint or just a sprinkle of fresh pepper.

Nat's Steamed Christmas Pudding


 So, that's Christmas done and dusted for another year. It was busy, but there was still time for lots of laying about, reading, watching movies, relaxing with good friends, an occasional glass of wine, and of course cooking and eating. Lots of eating. We had out-of-towners with us so we embarked on an eating experience of Austrian foods, and a tour of Christmas markets and gluhwein sellers. There was of course snitzel and sausages and apple strudel, but also pork stelze (roasted pork hock), steinpilz (local mushrooms), and our Christmas lunch was roasted goose with red cabbage. All good and very delicious.

Our Christmas 'dinner' was this steamed Christmas pudding. I only made the pudding one week before Christmas, but despite it not having much maturing time, the pudding was delicious, 'boozy', and really fruity - just the way I like it. And the almonds added a lovely, sneaky crunch.

We are still snacking on the pudding a week later. It has kept beautifully and is still moist and so flavoursome. I might make it a bit earlier this year  to give the fruit time to really develop it's flavour.


What you'll need

Makes a large Christmas pudding, 10 to 12 serves.

375g sultanas
180g prunes - de-seeded and roughly chopped
150g dried figs - roughly chopped
200g dates, de-seeded and roughly chopped
100g slivered almonds
150ml Rum
100ml Whisky
250g butter (at room temperature)
200g brown sugar
4 eggs
175g fresh breadcrumbs
75g self-raising flour
75g plain flour
1 tsp mixed spice (if you want)
1 tsp ground cinnamon

Extra butter for greasing the pudding tin.

What to do

Step 1 - Place all the fruits into a bowl and add the rum and whisky. Mix well and cover tightly with foil. Leave for at least 12 hours to macerate, mixing occasionally. I suggest doing this one evening, then make the cake the next afternoon. 

Step 2 - Using an electric beater, cream the butter and sugar together until pale and fluffy. Add the eggs one at a time, beating well between each one.  Add the fruit mixture and mix well.

Step 3 - Add the flours, breadcrumbs and spices. Mix well until combined.

Step 4 - Grease and line a 2L capacity pudding tin/basin. I used a ceramic salad bowl, as you cannot buy pudding steamer tins here.

If using a pudding steamer tin, follow these directions:


Spoon mixture into prepared steamer. Secure lid. Place in a large saucepan. Pour boiling water into pan until halfway up side of steamer. Cover pan. Place over low heat. Boil for 4 hours, adding more boiling water when necessary.  Use a skewer inserted into the middle of the cake to check it is cooked. Remove pan from heat. Carefully lift steamer from water.

If using a bowl or similar, use these directions:

Spoon mixture into prepared steamer/vessel. Make a lid using a layer of baking paper and foil. You can make the lid following the method used in my jam pudding. Use kitchen string to secure the 'lid'  to the top of the bowl. Use more kitchen string to create a handle for the bowl (so you can lift it out once cooked) using string wrapped several times around the bowl. Place in a large saucepan. Pour boiling water into pan until halfway up side of the bowl. Cover pan. Place over low heat. Boil for 4 hours, adding more boiling water when necessary. Use a skewer inserted into the middle of the cake to check it is cooked. Remove the pan from heat. Carefully lift steamer from water.
Once removed from the water, set aside to cool completely. Once cooled you can leave the pudding in the basin, then wrap in a clean tea towel and store in a cool, dark place or at the back of the fridge until ready to use.

Serve with custard and cream or ice-cream.